# Resources
Understanding Lighting & Improving your 3D Renders - YouTube
Lighting 3D Characters for Storytelling - YouTube
10 Tips to make Your 3D Render more Cinematic - YouTube
# Lighting in CG
These days there are many accurate physically based renderers which can help us more easily and intuitively set up the lighting and materials for our scenes.
One of the major benefits to this is that we can now emulate the setups for film and photography and get similar results.
In order to get better lighting we must understand how light works a bit better.
It’s important to use real world units if you want things to behave as expected
# Cameras
Cameras capture light on different types of photo-receptors through housing that contains all sorts of components to help control the image.
In order for our camera to get the right Exposure we need to adjust two things:
- Aperture
- Shutter Speed
Aperture => This is the size of iris in the camera and is adjusted to let in different amounts of light. Very similar to what our own eyes do.
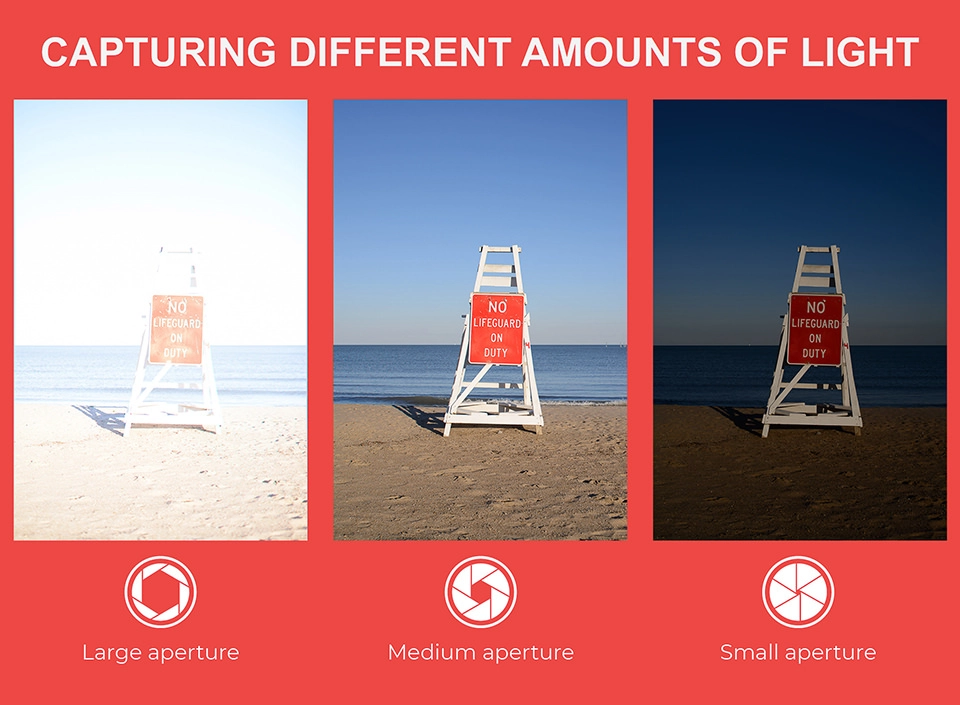
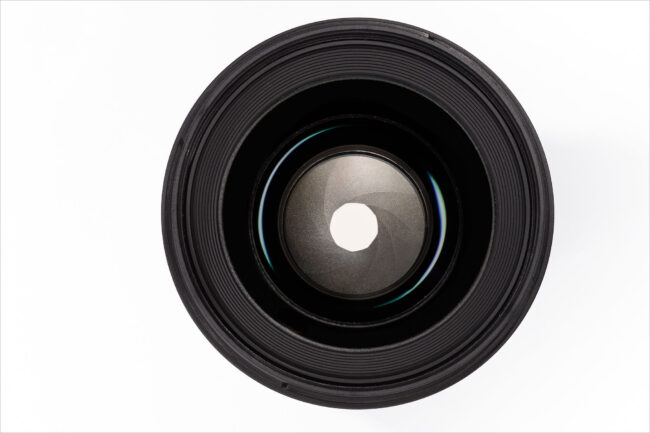

Shutter Speed => The amount of time the shutter is open and lets in light while taking a photo.
# F-Stop
A Simple Explanation of F-Stop - YouTube
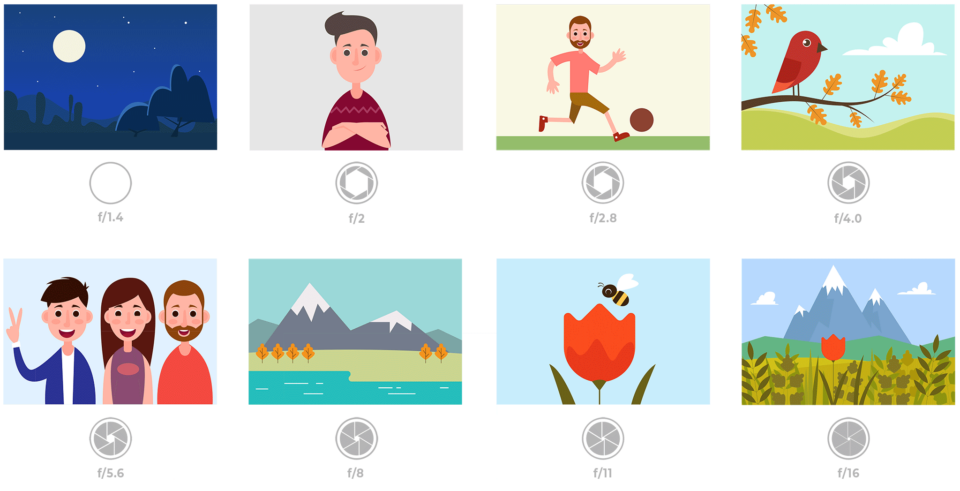
Setting on the camera that control how much light is let into the camera.
Each f-stop number doubles the amount of light let into the camera
# Depth of Field (DOF)
Depth of field (DOF) is when the focus of the camera blurs the rest of the scene.
Distance between the nearest object in focus and the furthest object in focus in your frame
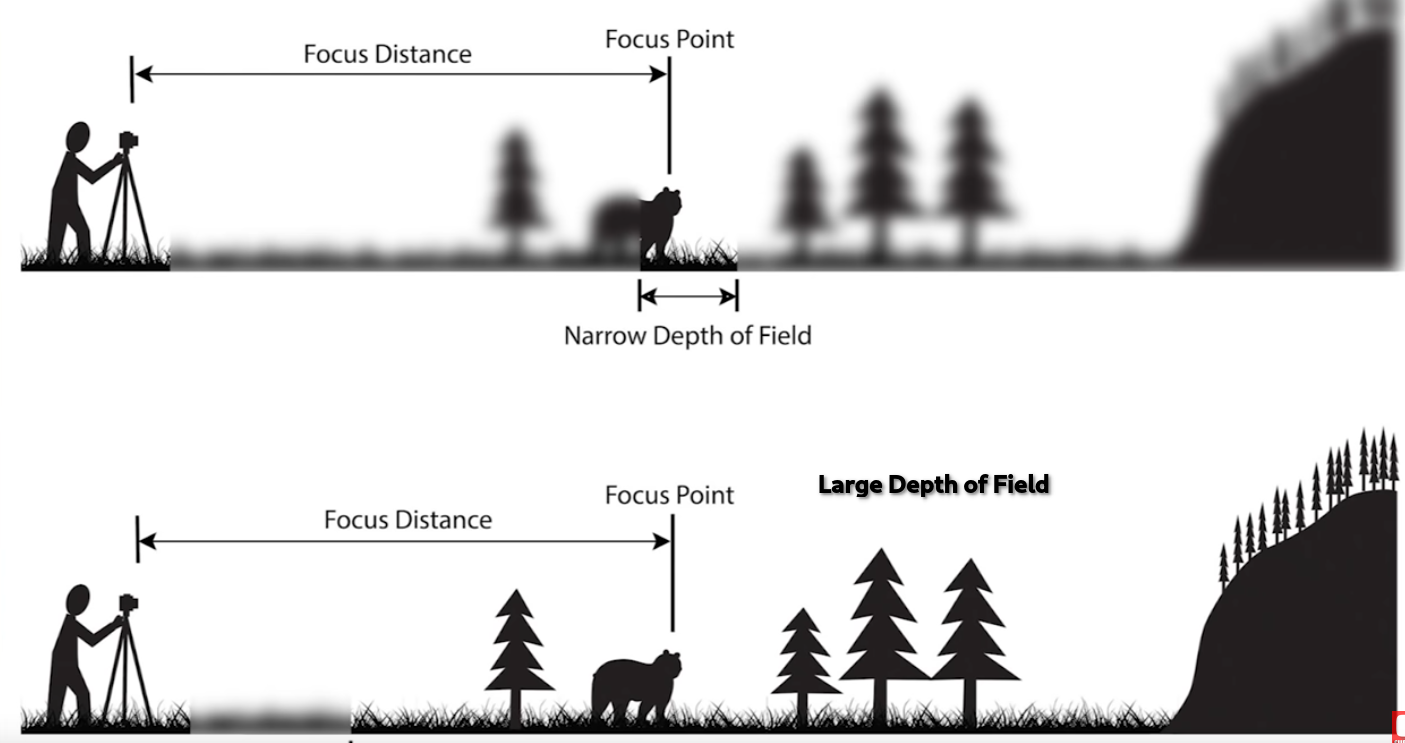
In CG we can usually turn DOF on or off. Normally you want it on for more realism.
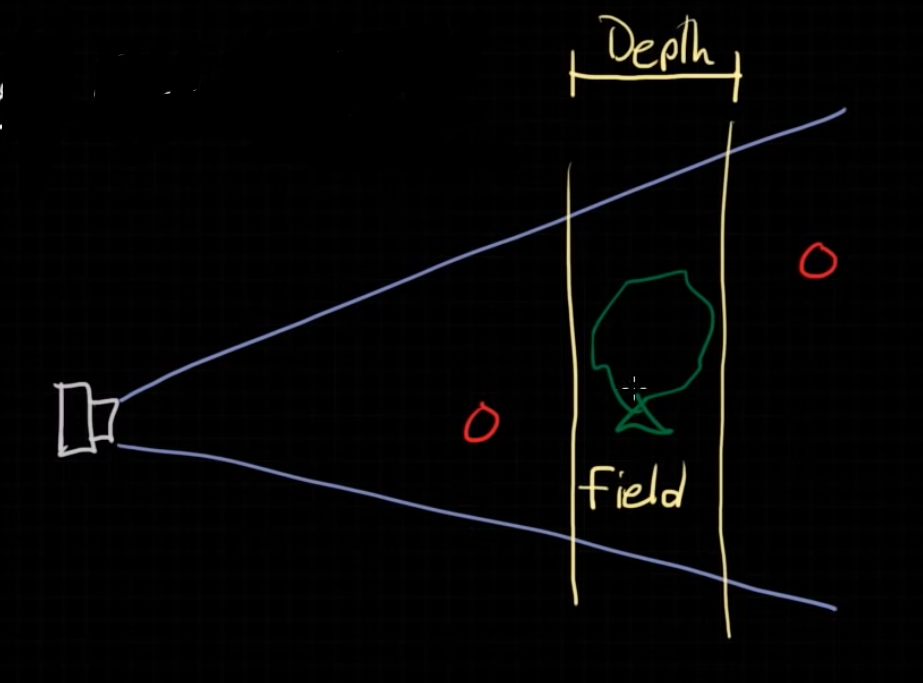
What we are controlling is the Depth of the Field of focus.
There are a few ways we can control this.
- Aperture
- Distance to Subject
- Focal Length
# Aperture
The opening in your lens.
The smaller the number => The wider the opening => The shallower the DOF
# Distance to Subject
The closer you are to your subject => The shallower the DOF
# Focal Length
The longer the Focal Length => The shallower the DOF
100mm will have a much shallower DOF than a 16mm lens
# Use Cases
# Landscape
- Want everything in focus
To do this you need to do a few things.
- Use Smaller Aperture
- Distance From Subject
- Use a wide lense
# Portrait
- Want the subject in focus and the background blurred.
How to achieve this:
- Wider Aperture
- Closer to subject
- Narrower lense
# Resources
A Simple Guide to Depth of Field - YouTube
Depth of Field: An Easy Overview (2022) - YouTube
8 Steps to Cinematic Lighting | Tomorrow’s Filmmakers - YouTube
# Lighting
Now that we know we can get similar results with different light intensities if we use our cameras correctly how do we change our lighting in ways we might want?
# Shadows
There are two main factors when it comes to affecting types of shadows in our scenes.
- Size of the light
- Distance of the light from the object
Small Light => Harder Shadows Bigger Light => Softer Shadows
Photographers and filmmakers use soft-boxes, umbrellas, and diffusers to create larger lights and soften shadows
# Light Ratio
The contrast between the lightest and darkest parts of the scene
- Low => There is less difference
- High => There is more difference
# HDRI
HDRI’s are textures meant for the world and create reflections and more accurate environment lighting.
# Shadow Play
Use objects or textures to break up the light and shadows for a more interesting look
# Character Lighting
Some useful terms
- Paramount Lighting
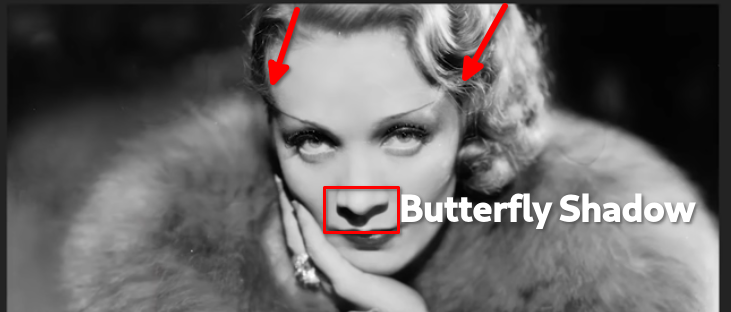
- Accentuates Cheek Bones
- Used a lot in older movies
- Loop lighting
- like paramount lighting but the key light is moved slightly to the side
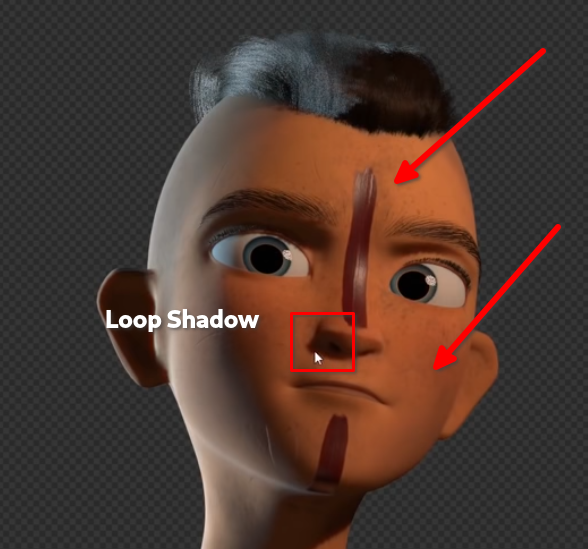
- More modern way to light characters
- Hair Light
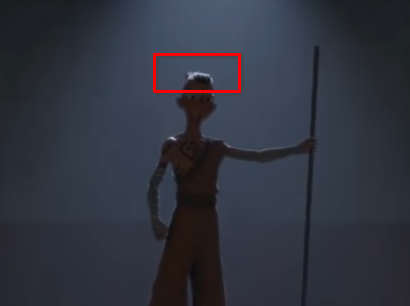
- Usually the key light is strong and coming from directly above the character
- Good for mostly showing the characters silhouette
- Have it slightly behind the character to avoid ghoul eyes
- Split Lighting
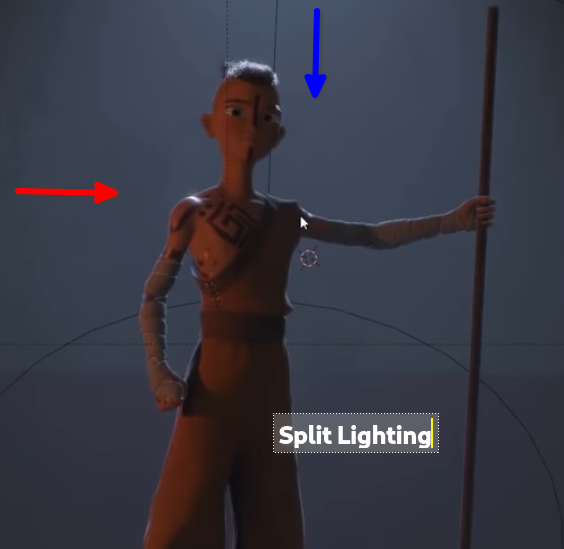
- Divides face into light and dark sides
- Rembrandt Lighting
- Named from the paintings by Rembrandt
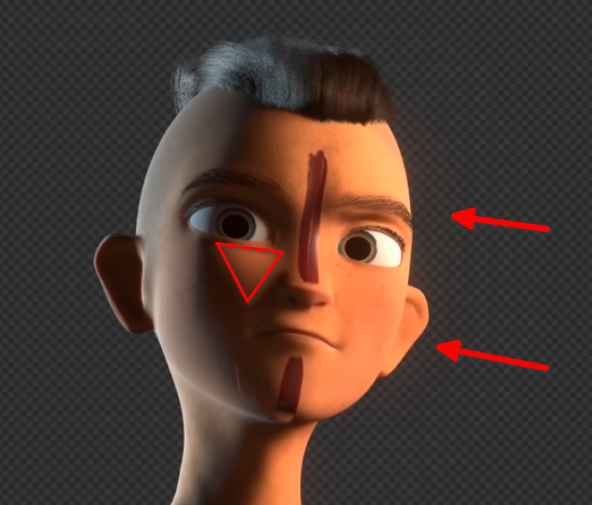
- Key light is to the side (not too much)
- Still shining over the nose and onto the other cheek
- Very popular character lighting in cinema
# Lighting Color
- Color theory
- Color Psychology
- Physical Reference
- time of day
- cloud cover
- etc.
It’s ok to break physical correctness if it works for the story telling. This is especially true for very stylized projects.
# Textures and Lights
In CG we can create custom light shaders and use textures and do other fun things.
# Tips
- try and avoid lighting the object head-on
- Use different cameras and lenses in your CG scene for different uses
- landscape vs portrait camera setups
# Scene Composition and Lighting
- The eye is drawn to the brightest spot on the image
# Light Types
- Key Light => Typically the most prominent light in your scene.
- Fill Light => Secondary Light usually on the side
- Back Light => Can help give rim-light and halo on objects
# Blender Lighting and Cameras
# Cycles
- Some post processing must be done in the compositing phase
# Eevee
- Fog
- Post Processing