Sculpting in Blender
Sculpting is the process of digitally manipulating a 3D model using specialized software to create organic or freeform shapes, textures, and details. It allows artists and designers to work in a way that closely mimics traditional sculpting techniques, but with the added benefits of digital tools such as undo/redo functions and the ability to quickly iterate and refine designs.
Sculpting can be used for a variety of purposes, including creating characters and creatures for movies, video games, and animations, designing prototypes for product development, and creating digital sculptures for 3D printing or other forms of digital fabrication.
One of the most popular sculpting software is ZBrush, which is used by professionals in the entertainment and design industries. Other software options include Mudbox, Blender, and Sculptris.
# Sculpting Methodology
There are many workflows and methodologies around digital sculpting. I’ll cover some basics here:
- Building Base Meshes: Building a base mesh is the first step in any 3D modeling process. It serves as the foundation on which you can sculpt your details. You can create a base mesh from scratch or use an existing model as a starting point.
In Blender, you can use the Sculpt Mode to create a base mesh by using the Dynamic Topology feature, which allows you to add and remove vertices as you sculpt. Alternatively, you can use the Retopology tools to create a new mesh on top of an existing model.
In ZBrush, you can use the ZSphere tool to create a base mesh by building a skeleton that you can then sculpt on top of. Alternatively, you can import a base mesh from another software and refine it in ZBrush using the sculpting tools.
- Using Masks: Masks are a powerful tool that allow you to isolate parts of your model for more precise sculpting. You can use masks to create sharp edges, refine details, or even apply textures.
In Blender, you can use the Masking Brush to paint a mask on your model, or use the Mask Modifier to create a more complex mask. The mask can then be refined using the Smooth and Blur brushes.
In ZBrush, you can use the Masking Brush to paint a mask on your model, or use the Masking Pen to draw a more precise mask. You can then use the Smooth and Blur brushes to refine the mask, or use the Inflate and Deflate brushes to adjust the shape of the masked area.
- Sculpting Details: Once you have a base mesh and a mask, you can begin sculpting your details. This is where the real artistry comes in, as you can use a variety of brushes and techniques to create the desired effect.
In Blender, you can use the Sculpting Brushes to sculpt your details. You can adjust the strength and size of the brush, as well as use modifiers such as Dynamic Topology and Multiresolution to create more complex details.
In ZBrush, you can use a variety of brushes to sculpt your details, including Standard, Clay, and Move brushes. You can adjust the intensity and size of the brush, as well as use the DynaMesh feature to add or remove topology as you sculpt.
- Polishing: After you have sculpted your details, you may want to polish your model to smooth out any rough edges and make it more presentable.
In Blender, you can use the Smooth Brush or the Relax Modifier to smooth out your model. You can also use the Multi-Res Modifier to add additional resolution and detail.
In ZBrush, you can use the Polish Brush to smooth out your model, or use the Smooth and Blur brushes to refine specific areas. You can also use the Decimation Master to reduce the polycount of your model for export.
Overall, sculpting is a complex and nuanced process that requires a lot of skill and practice. By learning these basic workflows and experimenting with different techniques, you can develop your own unique style and create stunning 3D models.
# Sculpting In Blender
While blender is no ZBrush, there have been some massive strides in it’s sculpting capabilities over recent years.
# Getting Starting with Sculpting in Blender
my video -> Intro to blender sculpt mode
# Resources
Learn to Sculpt in Blender - Quick Start Guide - YouTube
# Viewport Tips
There are some things that many people change to make the sculpting experience a bit better in the viewport.
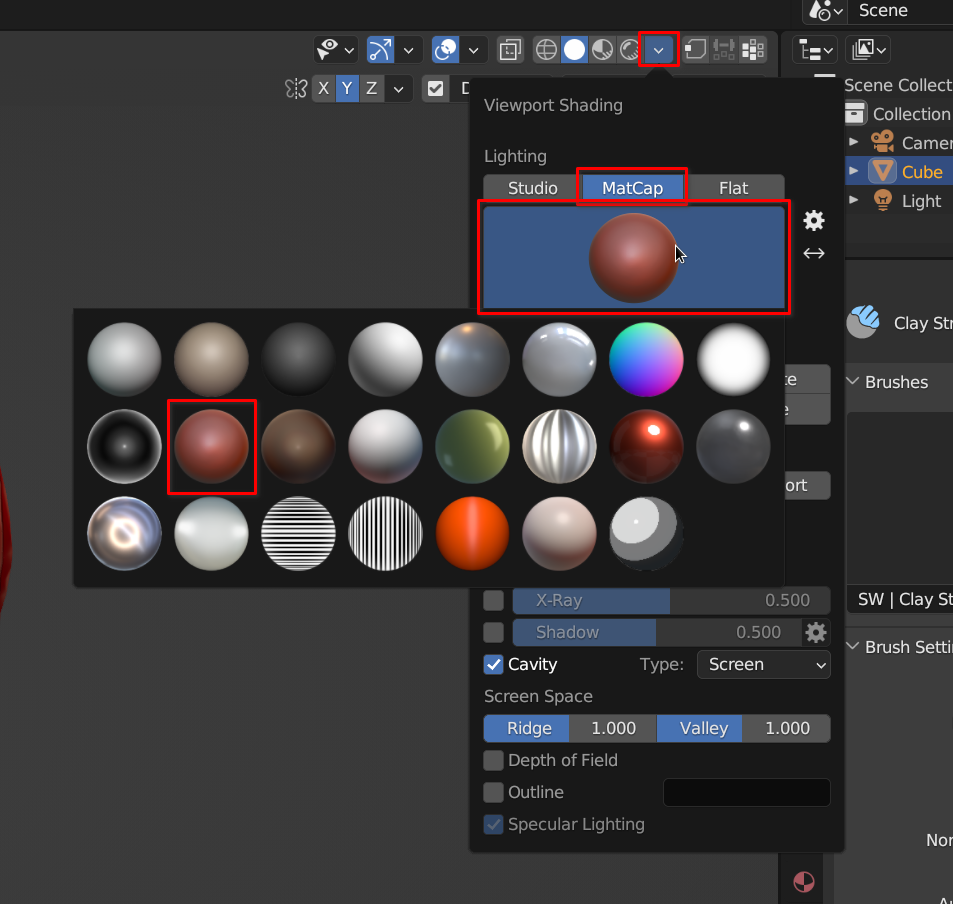
Set your viewport rendering to matcap and choose the clay looking one. This is similar to how ZBrush looks in it’s standard config.

Another option many people like using is cavity. This will shade crevices a bit differently allowing you to see and understand your shape a bit better.
# Setup Blender for Sculpting
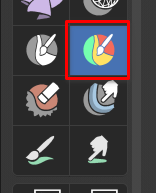
- Get into sculpting mode
- Either with the regular mode switching or
- the sculpting workspace
- The workspace has some specific hot-keys and things setup for sculpting so, it’s probably best to use this one.
# Sculpt mode interface

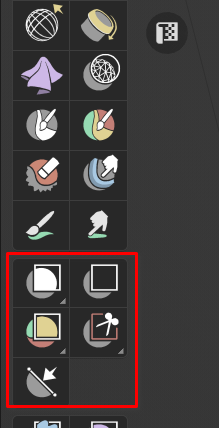
- Sculpting tools
- Tool options
- N-Panel
- Global sculpting options
- Context menus for sculpt-mode

- Mode dependent context menus
- Brush selection
- Brush dependent quick options
# Sculpting Tools
 => bring up your sculpting tools at the cursor.
 -> resize brush
 + => change brush falloff
 -> toggle the inverted version of the brush. If the default behavior is to pull geo out it will then push it in and vice versa.
- -> toggle smooth brush
If you have a tablet map your pen buttons to middle click and right click
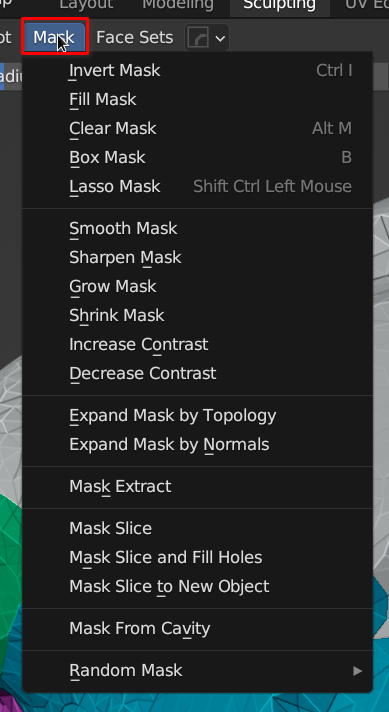
# Masking
Masking is an important part of sculpting, just as it is in digital painting.
You can paint masks in, invert them, sharpen or blur them.
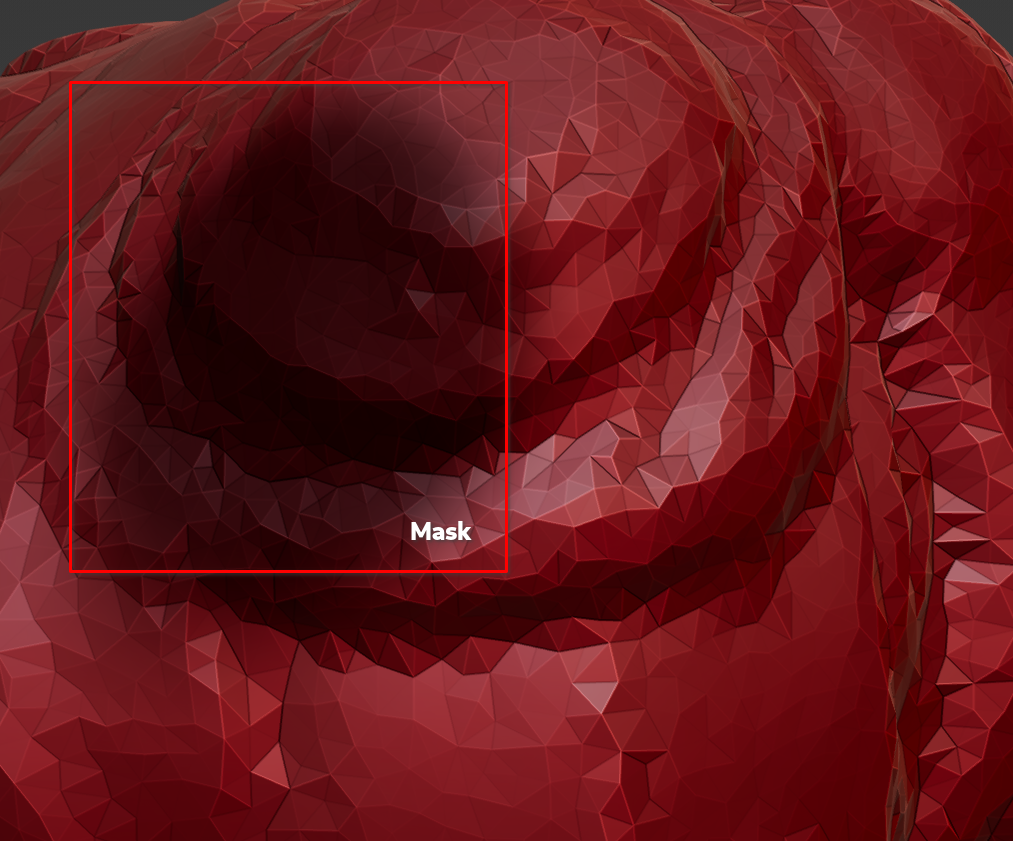
In the image above, you will not be able to sculpt the darkened masked section.
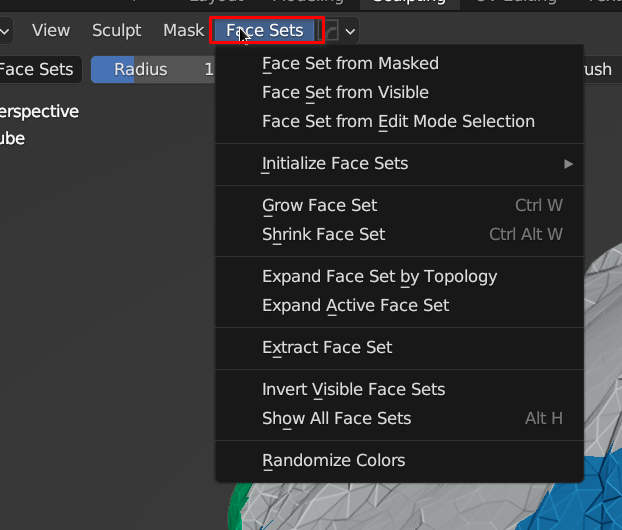
# Face Sets
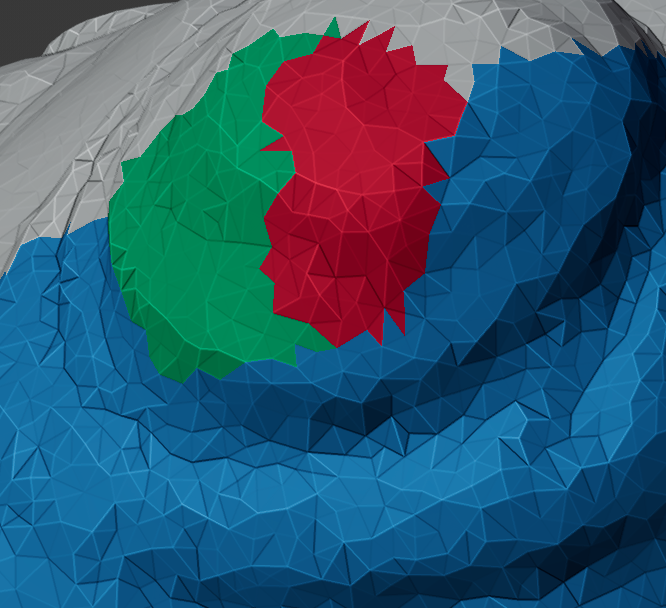
In Blender, Face Sets are a feature that allows you to select and work with a subset of faces on a mesh. It’s a way to isolate a specific area of your mesh for easier editing.
Face Sets are represented by colored areas on your mesh, and each color represents a different set of faces. You can create new Face Sets, delete them, or edit their boundaries using the Face Set tools in Blender.
One of the primary uses of Face Sets is for retopology, which is the process of creating a new, optimized mesh on top of an existing mesh. When you create a new mesh, you typically want to ensure that the topology follows the natural contours of your model, which can be challenging to do on the entire mesh at once. By using Face Sets, you can isolate specific areas of your model and focus on creating the best topology for each area.
Another use of Face Sets is for texturing and UV mapping. By isolating specific areas of your model, you can more easily create UV maps that match the natural contours of your mesh. You can also use Face Sets to create more complex textures, such as applying different materials to different areas of your mesh.
Overall, Face Sets in Blender are a powerful tool that can make it easier to work with complex meshes. By using them strategically, you can streamline your workflow and create more detailed and polished 3D models.
Facesets and masks are often used together.
It is easier to switch back into normal viewport mode (not matcap) to see your facesets better
Blender Secrets - Face Sets - YouTube
To choose a faceset to continue editing hold CNTRL over that section and start painting. To erase you can hold control over an empty section and paint.
- hold => Smooth border of facesets.
 => toggles hide and will isolate current faceset that the mouse is hovering over
One common workflow is separating your mesh into parts using masks and facesets.
Blender Secrets - Slicing Objects using Face Sets - YouTube
# Other Tools
There are a lot of other tools in blender that are exciting and more complex.
Some include:
- Cloth brush
- Vector Displacement
- Pose Brush
- Mesh Filter